My sister just gave birth to a baby boy end May 2013.
In Singapore, we usually celebrate the baby shower when the baby is 1 month old. And during this 1 month, for the mothers they are called a confinement period, in which the mother will stay indoors to recover from the delivery and there will be lots of confinement food from the timeless braised pig's trotters with black vinegar tto the homemade chicken essence with wine. It is usually low in saly and fat and packed with goodness and great nutritional value.
Back to the topic! I was tasked to help out with the baby shower with a $50 budget =S, specifically the gifts to the guests and the decorations. In fact, it is my first time decorating for a function!
It wasn't easy working with such a small budget. I started with the gifts as there were no big inputs I needed from my sister regarding the sweets. I went to Phoon Huat to get a pack of 100 cookie bags and the twister to tie the bags.
Next was the titbits. I went to the value dollar store that sells sweets and chocolates at considerably value-for-money prices.
 |
| value dollar store |

Next for the packaging~ I needed some inputs from my sis whether she would prefer the packaging to be neater or prettier. Personally, I preferred the neater option (as it was easier to pack, of course!). Lucky thing ,she too, preferred the neater option. It just requires some folds, 2 punches from a puncher, twist with decoration wires and tadah~ job done.
 |
| prettier |
 |
| neater |


..and sealed with love!
Now for the decorations~ in fact it took a while to understand what my sister really wanted. The colours I can/ cannot use, the fonts that she would prefer, motifs that she would like to include.
These are some that she has commented on:
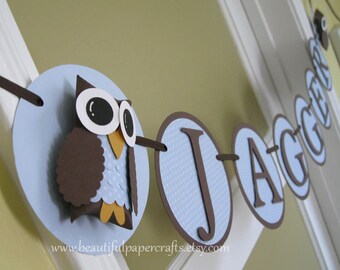 |
| I like the owl and the colour scheme. |
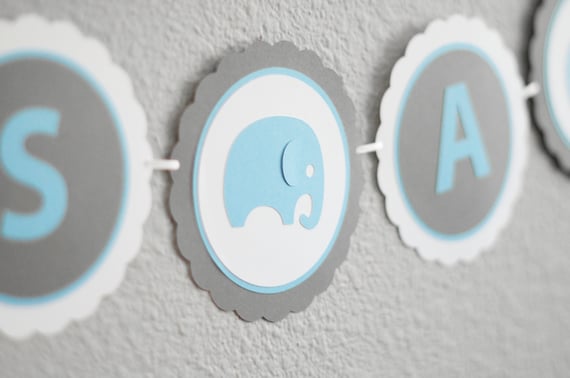 |
| I like the elephant and the colour scheme |
 |
| I like the bear and colour scheme. |
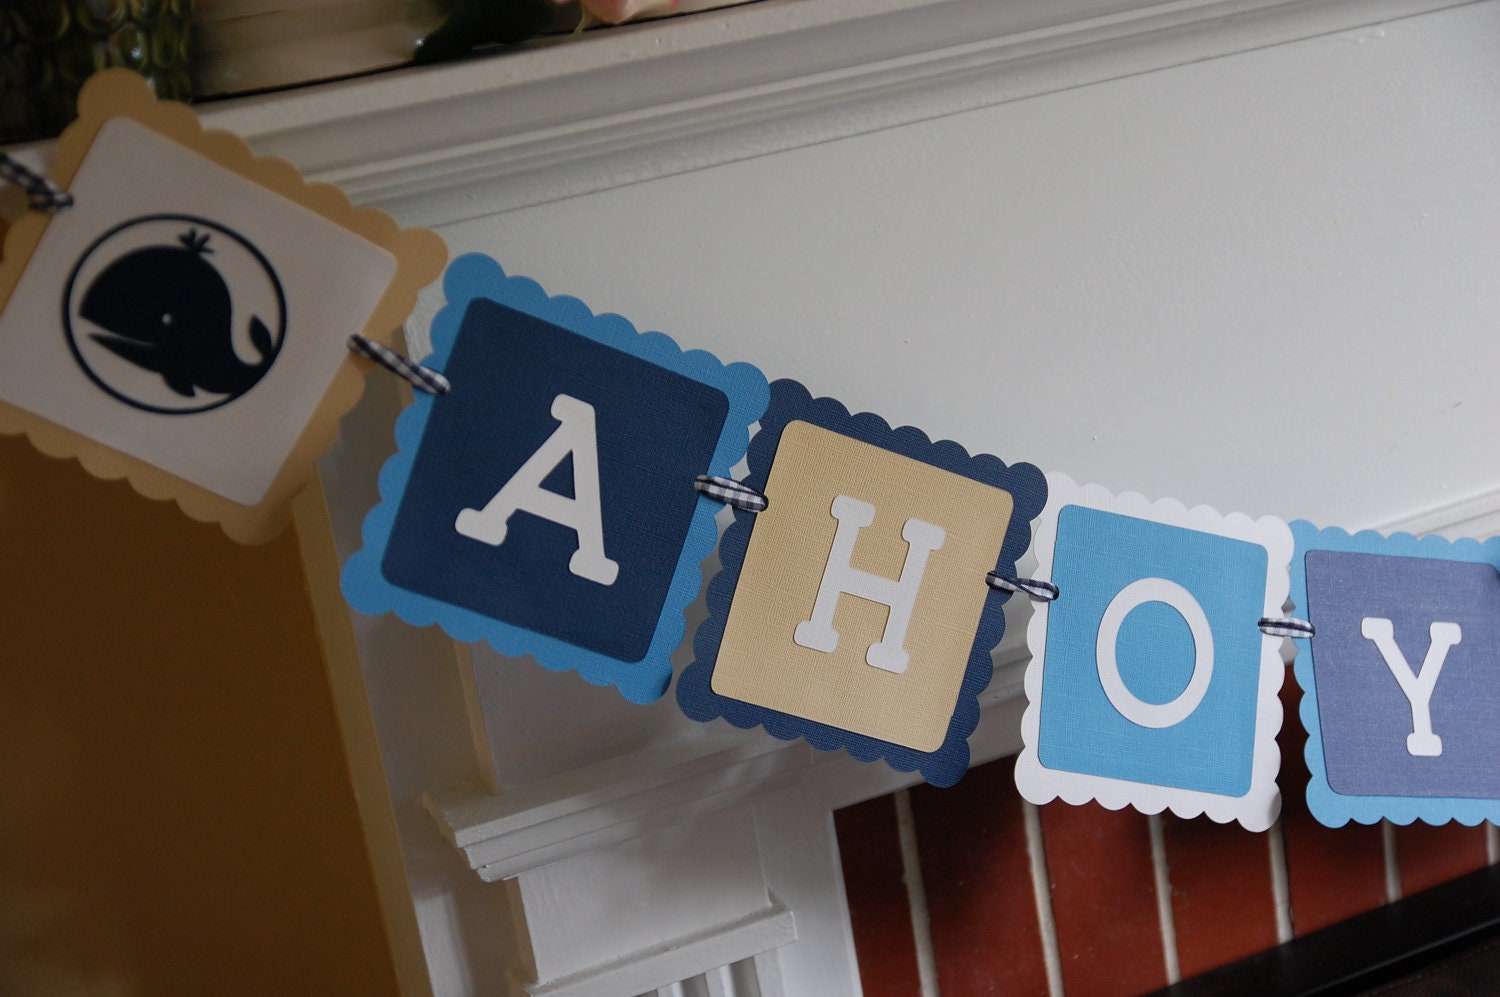 |
| OK I LOVE THIS FONT AND COLOUR SCHEME! And that whale.. super nice! Can you do "Yuan Kai's Baby Shower" in this scheme? Difficult? |
 |
| This is a lil similar to number 4. Can follow this colour scheme if 3 is too difficult. |
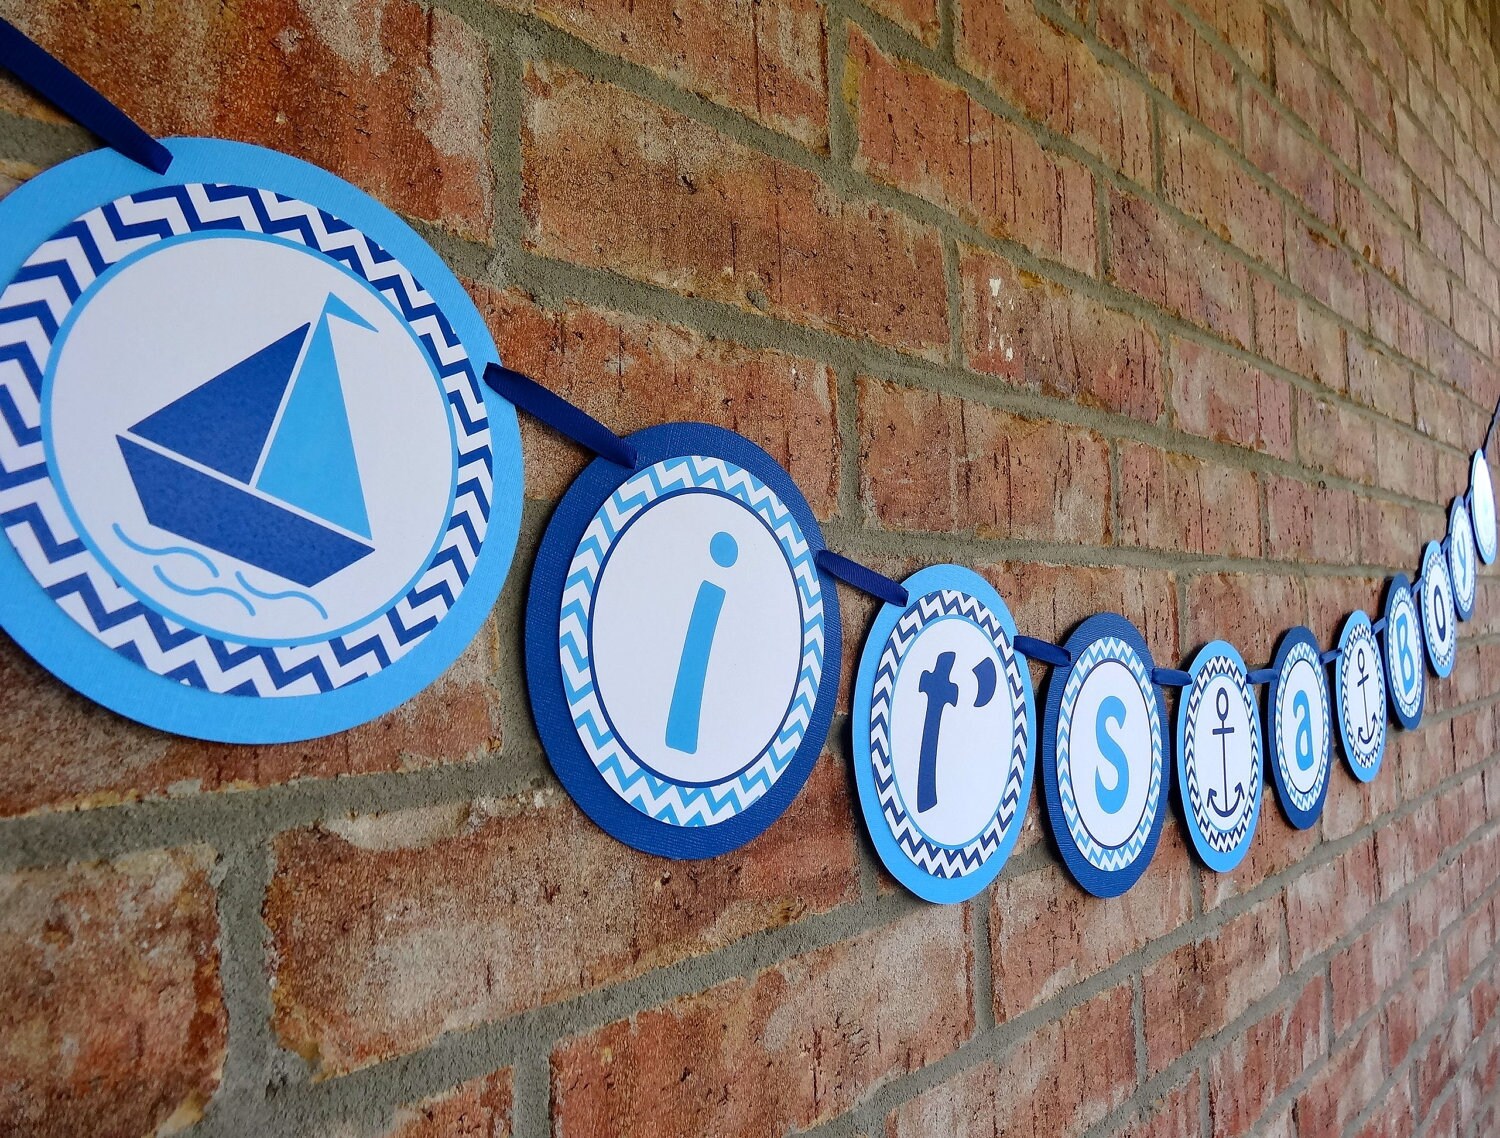 |
| The way they string this is very beautiful. But i am not a fan of the zig zag pattern colour scheme here. |
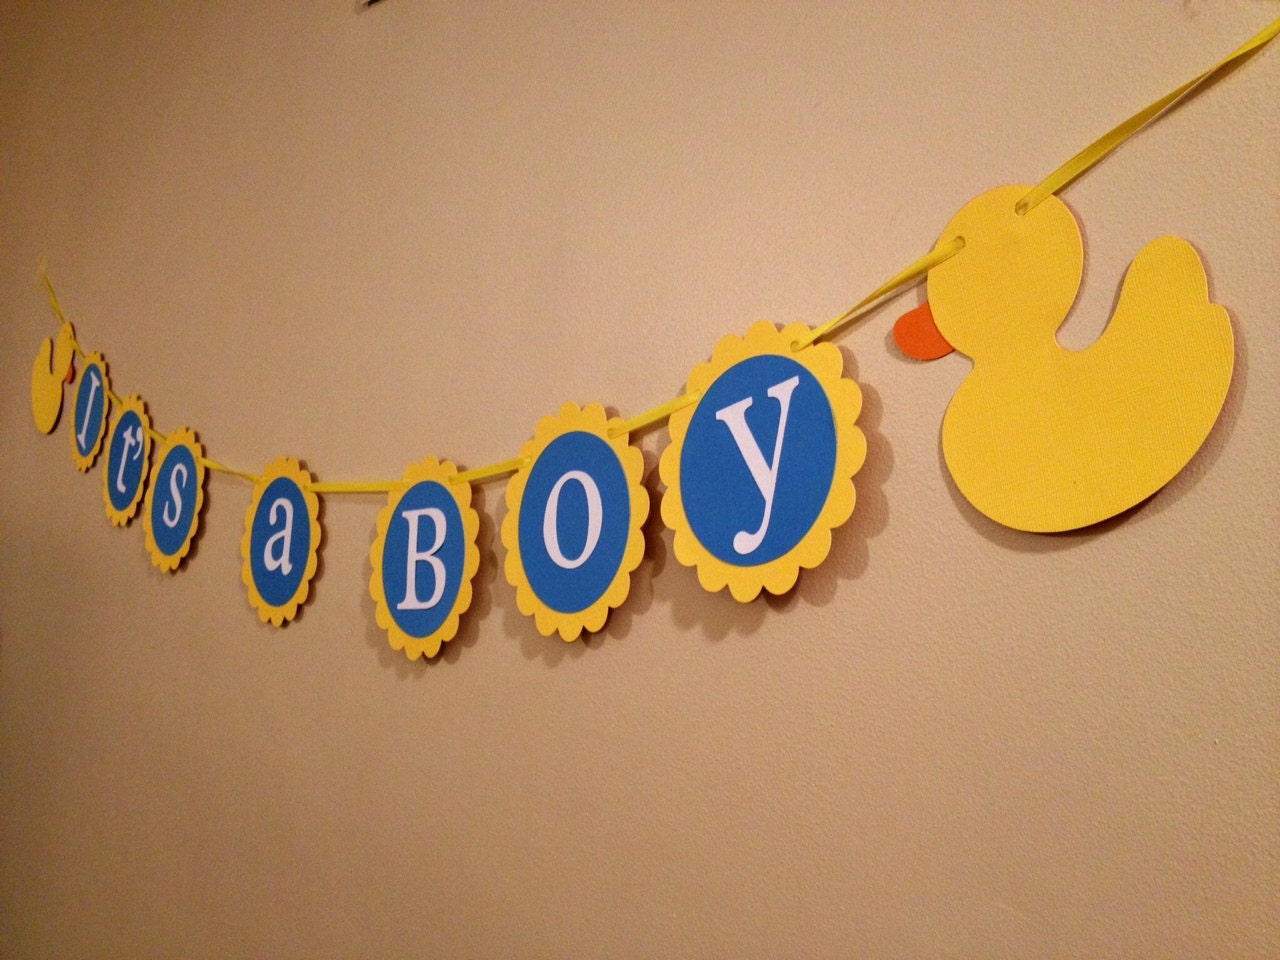 |
| I don't like this colour scheme so don't use yellow. I also don't like the duck coz no eyes and not cute. |
 |
| Cute elephant! Nice colour too:D |
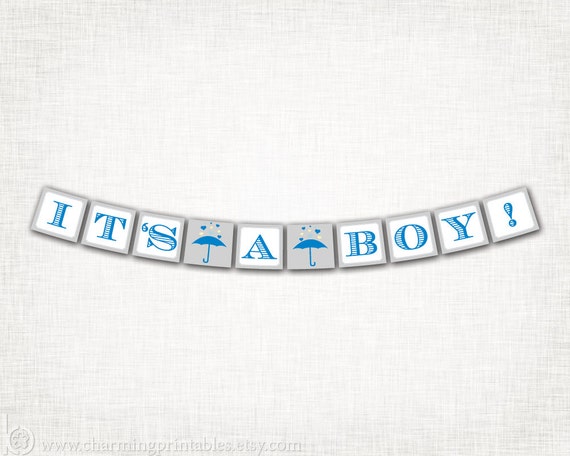 |
| i don't like this.. very cheapo looking |
 |
| WOW! I usually don't like green but this colour scheme and layout is simple and nice! The blue thread is beautiful too! Plus the turtle is cute! AND best of all.. the font is so beautiful! Nice combi D:D |
After I looked at these photos, my jaw literally dropped. I only had 2 days left to do the deco, plus I was a normal working adult that hold a 9-6 job, plus I had after office activities that I couldn't miss and I HAD to go i.e. hubby's grandfather's bday. You get my dilemma =( =(And most importantly, I didn't have the tools to do it! The only few miserable craft tools are a paper cutter, an edge-rounder and a scissors! I didn't have time to buy craft paper to do this project as well. But since I promised, I can't back out can I?!?!
Disclaimer: so if you see my end product, do not be too disappointed as they are NOT as pretty as those above! hahaha~
I managed to get some scrap (literally) craft paper from my colleague. And from the font that she has specified in the ideas list above, I choose something that was really close to it and printed on an A4 sheet.
Then, I snipped it out of the sheet and taped it onto plain craft paper. On colours that probably could match the colours that she has not condemned =P

And on some alphabets, I cleverly used the existing patterns to create something more unique.

Once, the alphabets are cut, I tried to match it with the patterned papers I had. Ultimately, I want to achieve a baby block look for each of the alphabets.


Done with the matching~ now with the "S" .


 |
| i'm the chosen one! =D |
Next, I matched the background. I made it in a way that the background lines were downwards and

Round the edges~ and ~ this is the final result! told ya ~ it doesn't look as fantastic as those seen earlier. hope you didn't have too high an expectation haha~

Next~ what are baby showers without balloons? Due to budget constraints, I bought a pack of 100 balloons and 2 masking tapes for the sticking. The balloons were separated by the colours for easy mixing and matching. Make sure you buy extras in case the balloons burst or has holes during the pumping process!


As for the baby shower banner, I went to the The Party Stuff! to search the banners and shortlisted these:


Down to the real deco~


I spend a total of S$52 (burst the budget by a wee bit) haha~
Hope you enjoyed reading some of my ideas for this baby shower!!